 Kia K900: Lighting control
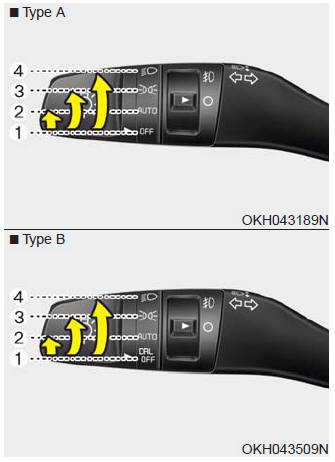
The light switch has a Headlight and a Parking light position.
To operate the lights, turn the knob at the end of the control lever to one of the following positions:
(1) OFF or DRL OFF position
(2) Auto light position
(3) Parking light position
(4) Headlight position
Parking light position (  )
)

When the light switch is in the parking light position, the tail and license lights will turn ON.
Headlight position (  )
)
When the light switch is in the headlight position, the head, tail and license lights will turn ON.
✽ NOTICE
The Engine Start/Stop Button must be in the ON position to turn on the headlights.
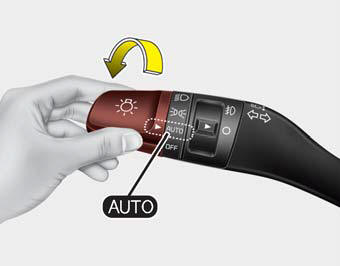
Auto light/AFLS position
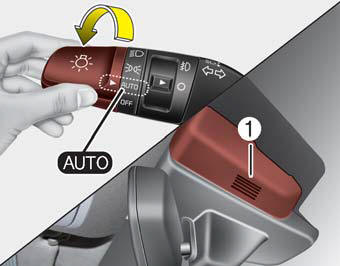
When the light switch is in the AUTO light position, the taillights and headlights will be turned ON or OFF automatically depending on the amount of light outside the vehicle.
If your vehicle is equipped with the adaptive front lighting system (AFLS), it will also operate when the headlamp is ON.
CAUTION
- Never place anything over the sensor (1) located on the instrument panel, this will ensure better auto-light system control.
- DonŌĆÖt clean the sensor using a window cleaner, the cleaner may leave a light film which could interfere with sensor operation.
- If your vehicle has window tint or other types of coating on the front windshield, the Auto light system may not work properly.
AFLS (Adaptive Front Lighting System)
Adaptive front lighting system uses the steering angle and vehicle speed, to keep your field of vision wide by swiveling and leveling the headlamp.
Change the switch to the AUTO position when the engine is running. The adaptive front lighting system will operate when the headlamp is ON. To turn off the AFLS, change the switch to other positions. After turning the AFLS off, headlamp swiveling no longer occurs, but leveling operates continuously.
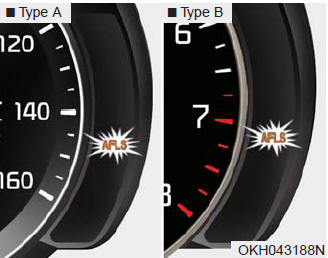
If the AFLS malfunction indicator comes on, the AFLS is not working properly. Drive to the nearest safe location and restart the engine. If the indicator remains on, have the system checked by an authorized K900 Kia dealer.
 Daytime running light
Daytime Running Lights (DRL) can make it easier for others to see the front of
your vehicle during the day. DRL can be helpful in many different driving conditions,
and it is especially helpful af ...
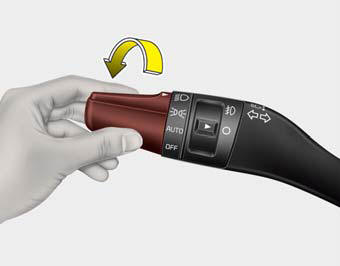
 High beam operation
To turn on the high beam headlights, push the lever away from you. Pull it back
for low beams.
The high beam indicator will illuminate when the headlight high beams are switched
on.
To prevent ...
See also:
Transmitter precautions
The transmitter (or smart key) will not work if any of following occurs:
You exceed the operating distance limit (about 90 feet [30 m]).
The battery in the transmitter (or smart key) is weak.
...
Theft-alarm system
This system is designed to provide protection from unauthorized entry into the
vehicle. This system is operated in three stages: the first is the "Armed" stage,
the second is the " ...
Storage compartments
These compartments can be used to store small items required by the driver or
passengers.
CAUTION
To avoid possible theft, do not leave valuables in the storage compartments.
Always keep the ...
Categories
